Flush DNS Windows 10 – Hello friends! Welcome to the eBuzzPro.com blog. And in today’s article we will know that “How to Flush and Reset the DNS Cache in Windows 10”? Friends, if you use PC, Laptop or Computer. And run with Windows OS in it.
[quads id=1]
So you must have also thought of flushing dns cache windows 10 at some point. But you do not know that after all, how can we flush the DNS Cache in our Windows 10? Friends, I have given you the answer of your question through this post below.
Also Read | How to Scan Windows 11 PC for Malware?
For your information, let me tell you that in windows 10 you can flush dns with the help of command. For this you should have knowledge of flush dns command windows 10. But if you are not aware of this, then follow the instructions given below carefully.
How to Flush and Reset The DNS Cache in Windows 10?
Friends, many times you log in to Google Chrome Browser in PC or Laptop, then you may have to face some IP Conflict Error. And in such a situation want to do “Windows 10 Clear IP Cache”. Or say that you need to Flush and Reset the DNS Cache in your Windows 10.
So friends, you do not need to worry much for this. You just have to follow all the steps given below carefully.
- First of All Press on “Start” Button on Your PC.
- Now Type Here “CMD”.
- Now Right-Click on “Command Prompt” and Select “Run as Administrator”.
- Now You’ll See a “Command Prompt Box”.
- Here Type “ipconfig/flushdns” and Press “Enter” Button.
[quads id=2]
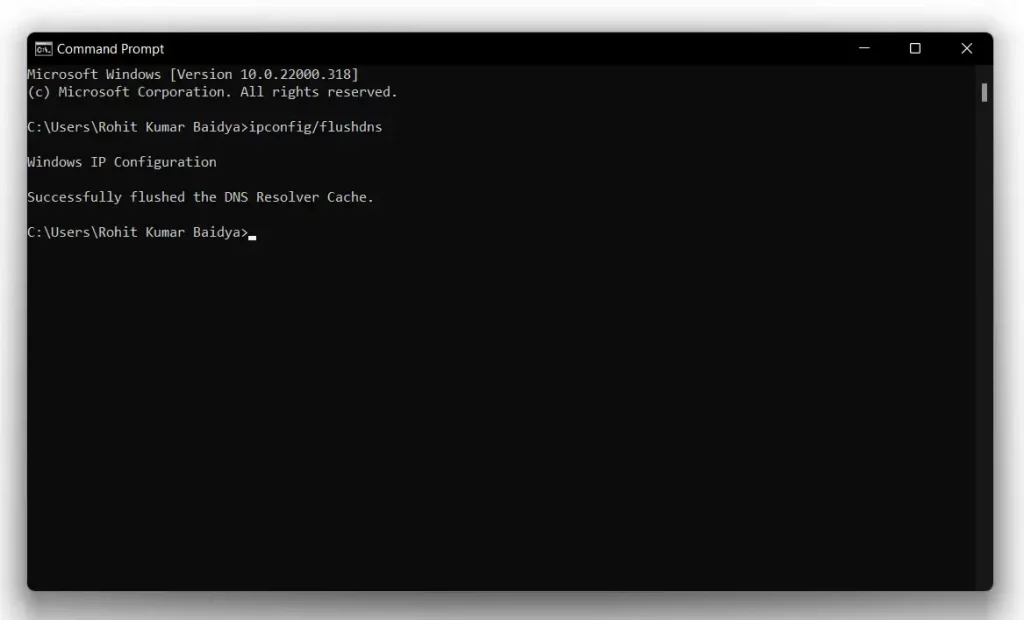
- Now You’ll See “Successfully flushed the DNS Resolver Cache.” Message.
How Do I Flush the DNS cache in Windows 10 in PowerShell?
Above we have told you to clear DNS Cache with the help of CMD. But now I have told you to flush dns windows 10 with the help of “PowerShell” below. You can clear cache windows 10 powershell by following these steps.
- First of All Press on “Start” Button on Your PC.
- Now Type Here “PowerShell”.
- Now Select “Windows PowerShell”.
- Here Type “Clear-DnsClientCache” and Press “Enter” Button.
- That’s All, Successful!
Conclusion – Friends, you have got this “How to Flush and Reset The DNS Cache in Windows 10” How was the article? Do tell us by commenting below. And if you like this post, please share it as much as possible.